
This article will help you to understand the steps on how to configure automation.
How to configure automation?
- Hover on the System icon on the left navigation bar of the Home screen, from the options displayed select Automation, the following screen will be displayed.
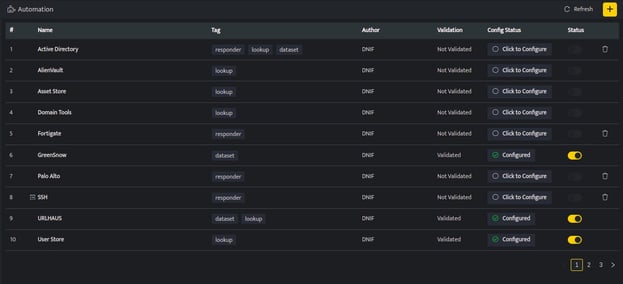
The Automation screen displays the following fields:
| Field Name | Description |
| Name | Displays the name of the automation. |
| Tag | Displays the type of automation |
| Author | Displays the name of the user who created the automation |
| Validation | Displays whether the automation is successfully validated. |
| Config Status | Displays the status of the automation, whether it is configured with DNIF or not |
| Status | Use the toggle button to enable or disable the automation |
- If the automation is added but not configured, will be displayed as Click to Configure under config status.

- Click click to configure to configure the automation, a form will be displayed, enter the required details to configure.
- The form will be different for different automations.
- Enter the required information and click Save. The details will be displayed in grid format.
- The details will be automatically validated with DNIF and if the details are correct, the Validation status will be displayed as Validated and Config Status will be displayed as CONFIGURED.
- Click the Status toggle button to enable or disable a particular automation once it is successfully updated.