
DNIF uses its own Query Language known as DQL, a primary form of interaction with the Datanode to analyse and interpret the data. You can add multiple DQL blocks in a Workbook to retrieve data quickly and efficiently. This section introduces you to the various elements and query directives you can use to work with this interface.
How to add DQL Blocks?
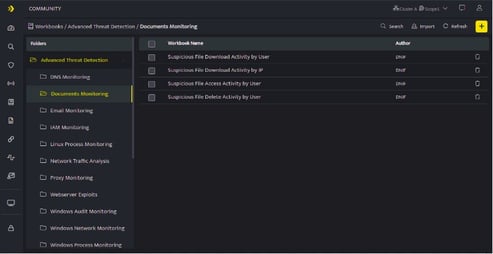
- Hover on the Workbooks icon on the left navigation bar, it will display the folder wise view of existing workbooks in the tenant (previously known as cluster).
- Click the plus icon at the top right corner of the Workbooks list page or click the find icon on the navigation bar to create a new workbook, the following screen is displayed.

- Click the plus icon on the Workbook page and select DQL Block from the list.
DQL Block

- Enter the required query and click Run, a progress bar will be displayed showing that the query is being processed.

- Once the query is successfully processed, the results will be displayed as below.

- To edit the workbook name click /drafts/ Untitled Workbook and enter a name of your preference.
- The first part of the name indicates the folder where the workbook will be saved. You can also create your own folder by clicking the plus sign at the end of the folder list.
- Click Information icon, to view log details. You can view the log details in JSON and TABLE format.
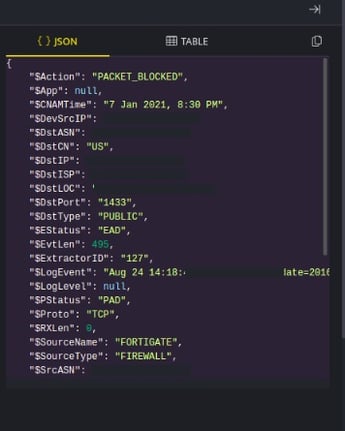
- Click Copy icon, to copy the details to clipboard.
DQL Block Functions
| Icons | Functionality |
| Used to filter the query result based on your requirement. | |
| Used to delete a block | |
| Used to export logs in CSV format |
For more details on Workbooks refer Create a Workbook.